
DIY Guide: How to Surge Clean Your Water Well
- David Bennett
- May 16, 2025
- 3 min read

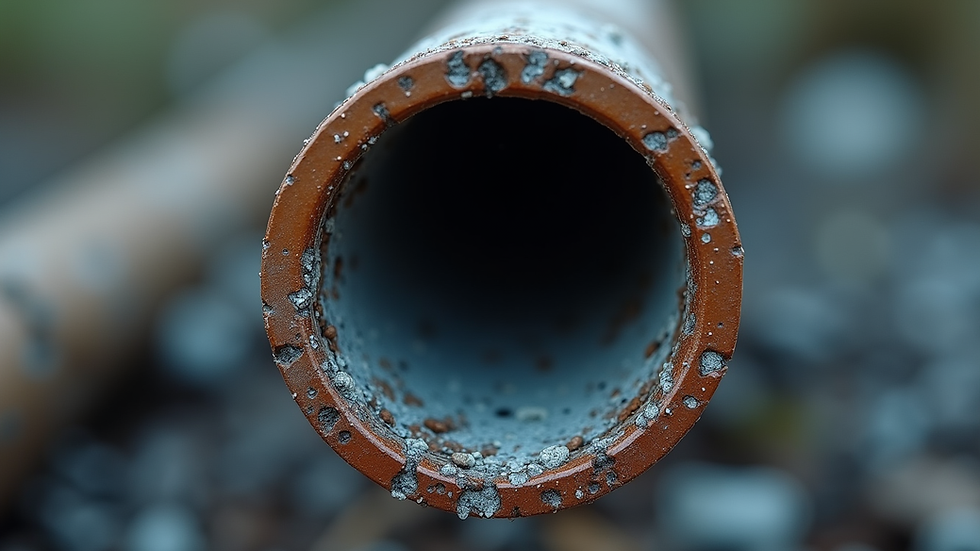
If your water well is producing less water than it used to, or if you’re noticing sediment, odors, or strange-tasting water, it may be time to clean your well. One effective method is surge cleaning—a mechanical process that dislodges and removes built-up debris, biofilm, and mineral scale from the well screen and surrounding formation.
While professional help is recommended for severe issues, surge cleaning can be done as a DIY project if you’re comfortable working with basic tools and equipment. Here's a step-by-step guide to get you started.
What Is Surge Cleaning?
Surge cleaning involves repeatedly moving a column of water up and down in the well. This movement creates a scrubbing action that loosens debris from the well screen, gravel pack, and borehole wall. Once loosened, the material can be pumped out, restoring water flow and quality.
Tools and Materials You’ll Need
Surge block (also called a plunger or swab) – rubber disk on a rod, sized slightly smaller than the well casing
Pipe or rod (PVC or galvanized) – to operate the surge block
Tripod and pulley system (optional, but helpful for deeper wells)
Pump or bailer – to remove dislodged material from the well
Clean water supply – for rinsing if needed
Gloves and safety glasses
Step-by-Step Instructions
1. Assess Your Well
Before you begin, determine:
Well depth
Diameter of the casing (usually 4" or 6")
Static water level (distance from ground to water)
Type of pump system (submersible or jet)
Important: Remove the pump if necessary and if you're confident in reinstalling it. Surge cleaning is most effective when the pump is not in the way.
2. Prepare the Surge Block
A surge block should fit snugly inside the well casing without getting stuck. It can be purchased or DIY-made using rubber disks bolted to a central rod or pipe.
3. Begin Surging
Lower the surge block into the well to the screened area.
Move the block up and down with steady, forceful strokes.
Work in short sections (e.g., 5–10 ft at a time) starting from the bottom of the screened interval and moving upward.
The goal is to create pressure waves that loosen and mobilize debris.
Tip: The motion doesn’t have to be fast—consistency and coverage are more important.
4. Pump or Bail Out the Well
Once a section is surged:
Use a pump or bailer to remove the turbid water and debris that’s been dislodged.
Repeat until the water clears significantly.
Then:
Continue surging the next section upward.
Repeat the surge-pump cycle for the full screened interval.
5. Rinse and Reinstall
Once you’ve surged and pumped all sections:
Rinse the well (optional, depending on your setup).
Reinstall your pump system.
Flush the system and test the water quality before using it for drinking.
Safety Tips
Never enter a well or lower your head into the casing.
Use gloves and eye protection when working with old or dirty wells.
Be cautious of electrical components—turn off all power to the well pump during cleaning.
If the well is very deep or conditions seem unsafe, stop and consult a professional.
When to Call a Pro
DIY surge cleaning can be very effective, but there are limits. If you notice:
Persistent sand or sediment after cleaning
Strong odors or color
Very poor yield (gallons per minute)
Signs of structural damage
…it’s time to contact a licensed well contractor or hydrogeologist for a full evaluation.
Final Thoughts
Regular well maintenance can extend the life of your well and improve water quality. Surge cleaning is one of the oldest and most reliable ways to revive a sluggish well—and with the right tools and some care, it’s doable as a weekend project.
Happy surging—and here’s to cleaner, better water!


Comments